The analogue chain
9 · Post-processing (experimental)
Stage 9 of Procol, experimental: the darkroom pushed to extremes. Intensifying and reducing the negative, the Sabattier effect and Mackie lines.
Stage 9 · Post-processing opens from the Inspector, from Darkroom › 9 Post-processing, or with ⌘ 9. When it is closed, its row says ‘no manipulation’ until you touch something.

Negative: reduction and intensification#
The baths given to a negative that has already been developed, to rescue it or to interpret it. The Treatment menu chooses the bath; Amount (0–100%), which appears as soon as you choose a treatment, says how long the negative stays in the bath.
| Treatment | What it does |
|---|---|
| None | The negative stays as it is. |
| Selenium intensifier | Builds up the higher densities: about one zone more in the highlights, nothing in the shadows, with no added grain. Worth about N+1. |
| Proportional intensifier (IN-5) | The whole scale expands in proportion. Adams used it on the foreground of Moonrise, Hernandez, years after the exposure. |
| Farmer’s reducer | Subtractive: takes the same density off everywhere. Once the printing time has been found again, it is the thinnest parts of the negative, that is the shadows of the print, that lose separation. It clears the fog from a negative that is too dense. |
| Proportional reducer | Shortens the whole scale, like a shorter development after the fact. |
| Superproportional reducer | Attacks the high densities: the highlights compress, the shadows stay. |
The printing time resets itself on the middle grey, as the printer would do: the tonal scale changes, not the overall brightness.
When to use them. A flat negative from a grey day: Selenium intensifier 50–100%. An overdeveloped negative with blocked highlights: Superproportional reducer 40–70%. To feel the difference between the reducers, try all three at 100% with Compare and look at the shadows and the highlights.
Sabattier effect#
Partway through development the print gets a flash of even light. The silver already formed acts as a screen: the flash blackens the areas that are still light and barely touches those already dark. The two images add up and development runs its course. The result is a curve that turns back on itself: dark highlights, midtones that drop to a minimum, full shadows. It is the gesture of Man Ray and Lee Miller.
It is often called ‘solarisation’, but true solarisation is something else: a reversal caused by enormous overexposure at the camera. See the Glossary.
Re-exposure#
Re-exposure (0–100) is the strength of the flash. At 0 the Sabattier effect is off. Typical values: 30–50 for a partial reversal, where the picture still reads; 80–100 for the full effect, almost a negative.
Re-exposure point#
Re-exposure point says how much of development has already happened when the light arrives: the readout runs from 25% to 85% into development. It appears as soon as Re-exposure is above zero.
- Early: the first image is still weak and the flash wins almost everywhere.
- Late: the first image screens more and the reversal gathers in the midtones.
Mackie lines#
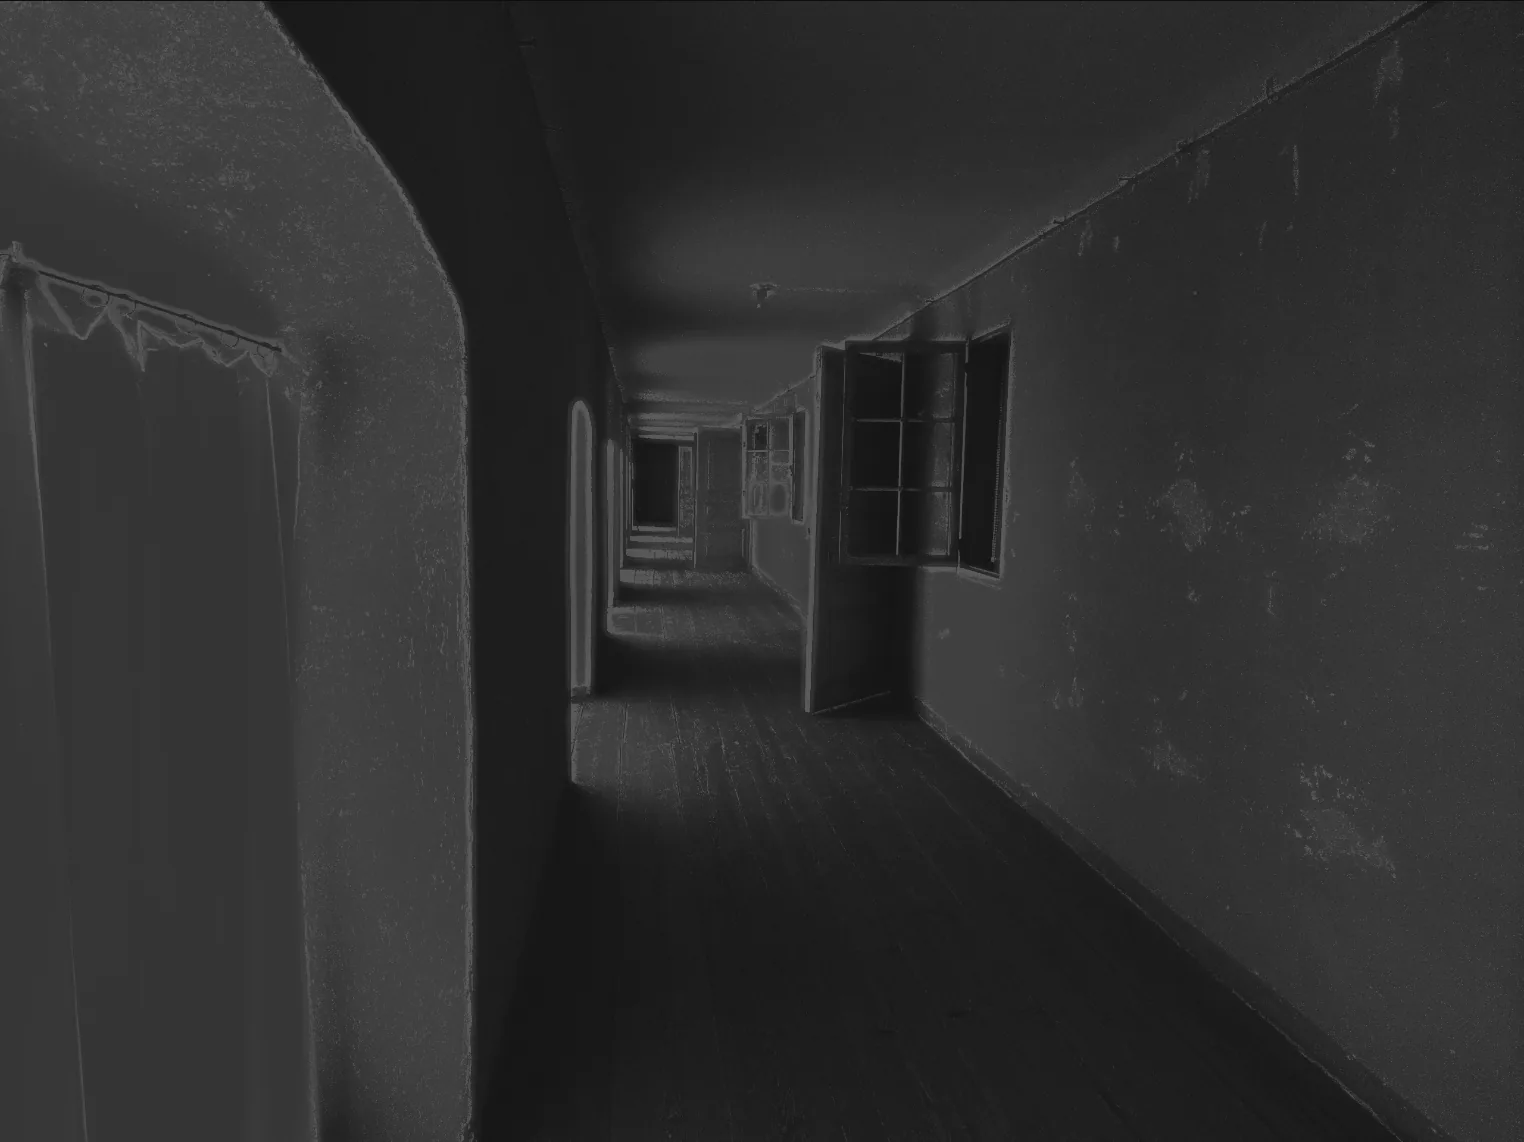
Mackie lines (0–100) draws the Mackie lines: a light thread along the outlines of the first image. It is an edge effect of development, where fresh developer meets exhausted developer. It works on its own too, with no flash: it gives the print a crisp outline, almost like pen work.
Tips#
- Print well first, then manipulate: Post-processing works on the print you have already built.
- A Sabattier is at its best on subjects with clean outlines: architecture, studio nudes, objects on a plain background.
- Judge it full screen and at 100%: Mackie lines are fine.
- If you like the result, save it as a preset (File › Save Preset…): none of the included styles uses these manipulations.