The analogue chain
3 · Camera
The Camera stage in Procol: exposure, shutter speed and reciprocity failure, support and camera shake, the coloured lens filter and the custom filter.
The moment of exposure: how much light gets in, for how long, through which filter, and whether the camera stayed still. These are the decisions the photographer makes on the spot, before even knowing how the film will be developed.
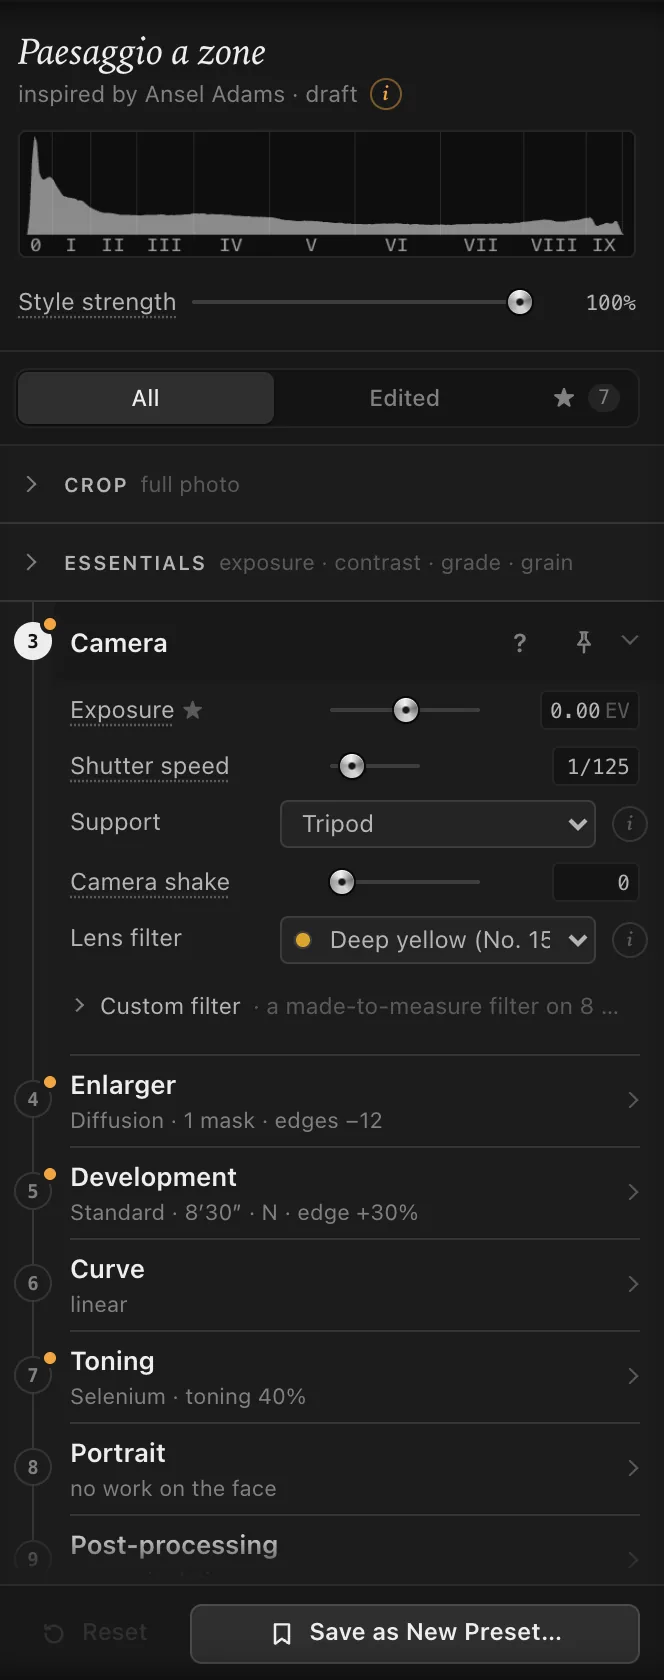
Exposure#
How much light the negative gets, in EV, from −4 to +4, in twentieths, starting at 0.
More exposure means a denser negative, and so a lighter print with more detail in the shadows. Less exposure gives a thin negative: shadows that close up in the toe of the film.
It is the same Exposure slider as in the Essentials, at the top of the Inspector.
How much. Usually you touch it by ±0.3 up to 1 EV. If the print is simply too light or too dark but you like the tones, try the Print exposure in the Enlarger first: it works on the paper, not on the negative, and leaves the shadows alone.
Shutter speed#
From 1/1000 to about 17 minutes, in thirds of a stop, starting at 1/125.
Up to half a second the shutter speed changes nothing in the print, apart from camera shake if the camera isn’t on a tripod. Beyond half a second the film loses speed: this is reciprocity failure. Procol works it out from the table Adams gives in The Negative:
| Metered time | Stops to add | Suggested development |
|---|---|---|
| up to ½ s | none | normal |
| 1 s | about 1 | −10% |
| 10 s | about 2 | −20% |
| 100 s | about 3 | −30% |
The slider’s readout tells you all of it on one line: ‘30 s · +2.5 st, −25%’ means that at thirty seconds the film has lost two and a half stops, and that you’d do well to cut development by a quarter.
The shadows lose more than the highlights, so contrast goes up: that is why you cut development. Procol doesn’t do it for you, because it’s your call:
- raise the Exposure by the stops shown;
- in Development, bring the Time towards N−1 until the minutes drop by the percentage shown.
The Spot meter already allows for reciprocity.
When to use it. This is the ground of long night exposures, church interiors, water that turns to mist. With a long exposure, remember the Support.
Support#
How the camera was held during the exposure:
- Tripod (the default): no shake, whatever the shutter speed;
- Braced: against a wall or table, about a third of the shake of a hand;
- Handheld: the shake of a hand.
Together with the Shutter speed and the focal length of the lens, Support decides the camera shake, as in real life. Handheld, the old rule ‘no slower than one over the focal length’ keeps shake under the sharpness limit: with a 50mm, at 1/60 the shake is about 20 microns on the negative, at 1/30 already three times that. Between 1/60 and 1/15 the shutter and the mirror slap add more vibration. With a long lens, and with medium format for the same framing, the focal length is longer and the shake grows. With no lens chosen, Procol assumes a 50mm.
Shake, like any fine detail, shows at 100% and in big prints.
Example. A street at night, Handheld, 1/8: the lights stretch just a little in one direction, as in pictures snatched without flash. With Braced the shake drops to a third.
Camera shake#
From 0 to 100, starting at 0: the camera moving during the exposure, set by feel. It adds to the shake that comes from Shutter speed and Support: it is there for deliberate camera movement, the kind that tells of movement. It moves the whole frame in one direction; a subject crossing a still frame (motion blur) is another thing, and Procol doesn’t imitate it.
Shake direction#
From 0° to 180°: the direction of the streak, horizontal at 0°, vertical at 90°. It appears when Camera shake is above zero, and also when Support isn’t the tripod, because it steers the shake of the hand too.
Example. Panning with a passing tram: Camera shake 40, Shake direction 0°.
Lens filter#
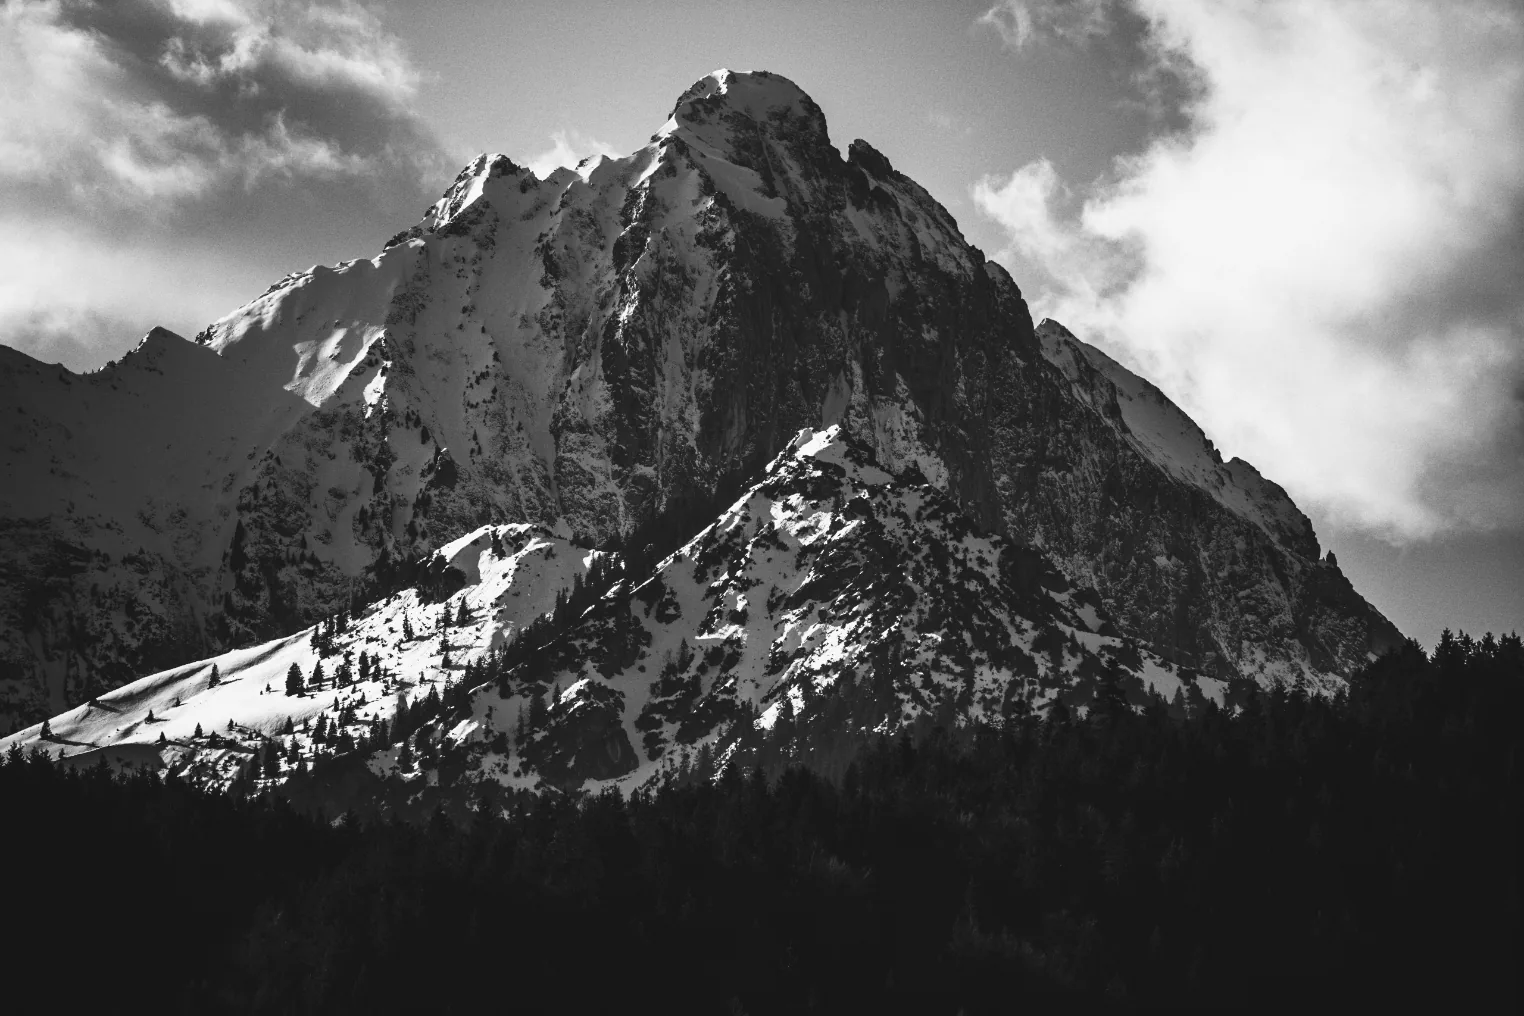
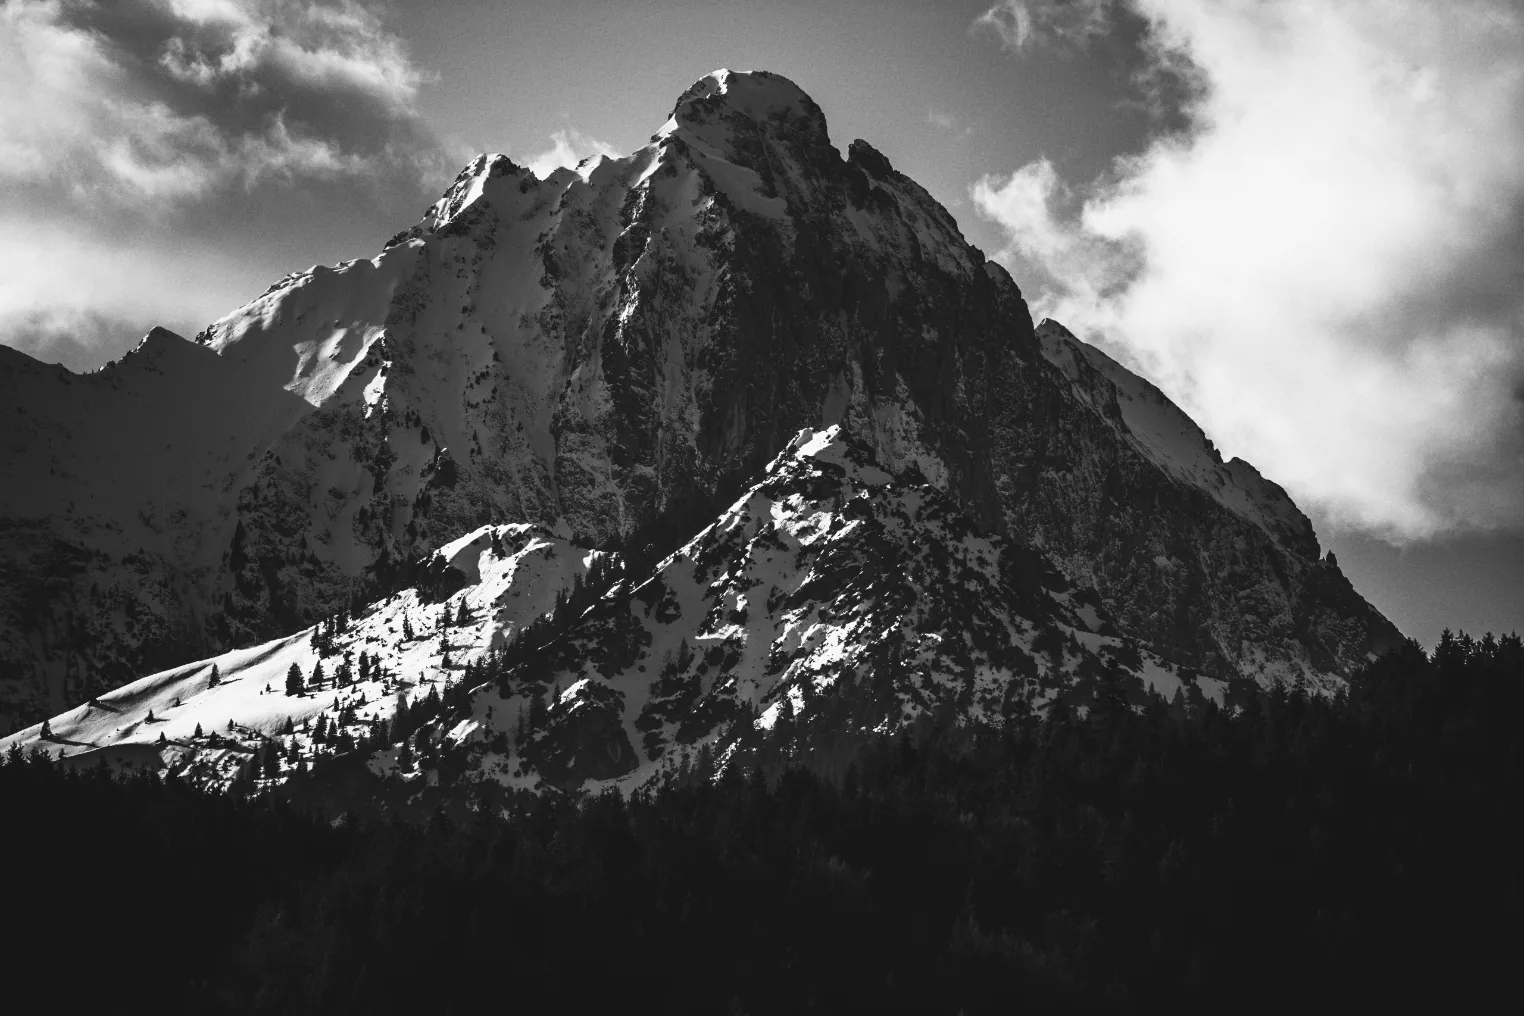
A coloured filter lightens its own colour and darkens its complementary. In black and white it is the first tool for separating two colours that would otherwise give the same grey: a blue sky and a white cloud, a green leaf and a red flower.
| Filter | Effect |
|---|---|
| None | The scene as it is: no colour favoured. The default. |
| Yellow (No. 8) | Sky just a little darker: the classic one to keep on the lens. |
| Yellow-green (No. 11) | Lighter foliage and a slightly darker sky; skin a touch darker. |
| Deep yellow (No. 15) | The Zone System landscape photographers’ filter: sky a good zone darker, blue shadows lowered. At the camera it costs about a stop and a half. |
| Orange (No. 21) | Dramatic sky, light skin, less haze. |
| Red (No. 25) | Sky almost black, clouds standing out, very light skin. At the camera it costs about three stops. |
| Deep red (No. 29) | Red pushed to the limit: black sky, an almost infrared look. |
| Green (No. 58) | Light foliage, darker lips and skin: for men’s portraits and vegetation. |
| Blue (No. 47) | Haze and atmosphere, dark skin and lips: like the old plates. |
The compensation is already done: when you choose a filter, a neutral grey stays where it was. Only the colours change.
The filter works together with the colour sensitivity of the emulsion: a red filter on an Orthochromatic film, which doesn’t see red, darkens almost everything. And with a period lens a yellow or red filter also makes the picture sharper, because it holds back the blue-violet that comes to focus somewhere else (see Lens and filter).
Custom filter#
The Custom filter row, at the bottom of the Camera stage, opens eight sliders, from −100 to +100, starting at 0: Reds, Oranges, Yellows, Greens, Aquas, Blues, Purples, Magentas. Each one lightens (positive values) or darkens (negative values) that colour in the scene, and only that one: a filter cut specially for your photograph.
They add to the lens filter and to the colour sensitivity of the emulsion. The two Infrared emulsions set them by themselves (greens and yellows very light, blues dark): if you want infrared, choose it in the Film stage and fine-tune here. When a custom filter is active, the summary of the closed Camera stage says ‘custom filter’.
Examples.
- An outdoor portrait with the skin too dark: Oranges +20, without touching the sky.
- A market where red and green fruit turn into the same grey: Reds +30 and Greens −20 pull them apart.
- A sky that is still too light with the Yellow filter, but without the drama of red: Blues −30.